Priyaz Creations

Priyaz Creations

Thursday, February 26, 2015

Quilling Project 3: For my Valentine, my best friend!

This is my first craft for 2015!

This month of February is unique. It's the month of love, yet for me it brings mixed emotions. Lot's of love, joy, tears, happy moments and sad moments, longing, yearning as well as ecstasy!

To celebrate all this, I thought about trying to create something new, something which I have never attempted before, go beyond my comfort zone, explore the possibilities of crafting realm.

I made this card for my best friend, my Valentine! It has so many elements which I have tried for the first time.

It's my first attempt at making side step card, stamping and making a shaker element...

This is how it looks:


Here are the new elements that I tried for the first time:

Shaker
The red, pink and white seed beads form the shaker element with heart base painted with white pearl colour on white chart paper. It's depth was created with some foam tape that I had.

Stamping
Black stamped borders above and below the sentiment are stamped. Also the heart made with 2 white and pink paisleys are stamped with 2 different paisley stamps.

The sentiments were taken from Amy Castle's song. Hope my friend likes it...keeping my fingers crossed.

Please do leave some love if you like it too!


Quilled Project 2: My First Quilling Artwork Made On Order

For this I have to thank my beautiful, intelligent, energetic, weird and crazy buddy, Gunjan!!! She was looking for something to gift to her soon-to-be sister-in-law and asked me to create something for her. Of all the options available to her, she chose me to become my first customer and so gave me the opportunity to create something as a professional artist!!!

Since her soon-to-be sister-in-law was married and have two cute boys, I thought the best gift for her will be something which will always remind her and make her proud of her motherhood. It were the name of her two kids, Soumil and Soumitr. Since both are young boys, I wanted to have an outdoors-y look, like a playground or open area like park where kids play sports like football, basketball etc. So this is what I made:


Without frame

Without frame


After framing

After framing
Here is a closer look at it's different elements:


This peacock feather was result of  an after-thought. Before I made this peacock feather, the artwork looked incomplete and I was contemplating as to what other element should I add which goes along with the theme. I thought about making a guitar. But, like on so many other occasions, the idea bulb in my head switched on and I remembered Gunjan telling me kid's complete names. Their names are Soumil Krishna and Soumitr Krishna. So what better to represent "Krishna" than a beautiful peacock feather. It was a little difficult element for me to imagine and make. The one I used was my second attempt, exactly like I wanted it to be. First one was not being to my liking. (BTW I HAVE A THING FOR PEACOCK FEATHERS, IT ALWAYS ENTICES ME)


This tree alone took 2 days for me to complete, with lots of times my mind going blank and as usual my Maa coming to my rescue with her ideas . But I am so happy with it!

I can never forget the look of awe and appreciation for me in Gunjan's in-laws eyes when she presented this to them. It was beautiful experience for me.

Thank you Gunjan for believing in me and encouraging me as always!

It will be wrong if I don't say how much my Maa supports me. Gunjan's marriage was in second week of December 2014, so I had to complete it before that. Unfortunately my Maa met with a small accident and broke her right wrist, so that left me with almost without much time to give to this project. It took me a week to complete it. But even with her fractured wrist, Maa kept on doing small household chores and errands herself, even sometimes attempting to make lunch or dinner so that I may get little more free time to devote to this project. Of course, she got good scolding from me everytime she did something like this. :-) It's been years but my Maa continues to amaze me with her caliber and stamina! Hats off to her!

Saturday, February 21, 2015

Diwali Time = Rangoli Time

Since I was a young girl, I have observed the tradition of decorating our home with beautiful rangolis made by my Maa (I got this artistic streak from her). She used to use paints for making rangolis. These would last almost an year till the next Diwali and were such a beautiful sight.

When I was old enough my Maa taught me to properly hold and use a 1" paint bush to make these super sized, coloful rangolis. Then I made my own supersized (about 4 ft. diameter) rangoli with paints when I was in 12th . By the way I did mention that my drawing is BAD, so I don't draw the designs  prioirly, I just let them develop when I make them, so this rangoli was indeed a feat for me because since I was using paints, I HAD to draw the sketch, it was a beautiful peacock inside a circle. It's such a shame that I don't have any pics of any of those.

However, when I went to Pune for my postgrad studies, I was exposed to the beautiful "Sanskaar Bharati" rangolis. I was mesmerized how beautiful, complex but at the same time how effortless they looked. This was back in 2008. 

But I could not find these rangoli powders in Kanpur when I came back home. However, when I went to Delhi for my job, I found these rangoli powders in the makets there. So I bought some to try my hand. And these two are my very first Sanskaar Bharati rangolis that I made on Diwali.


Diwali 2010

Diwali 2010
Whenever I am away from home, I make sure that I celebrate Diwali at my hometown with my family. No matter where I am in India, I always come back home, even if it means that I to travel 500 kms without reservation in trains or even if I reach home at 7 or 8 pm, just before Diwali pooja starts. So sometimes I might be too tired or I might not get enough time to make a supersized, huge rangoli (like the way I like it) or even make any rangoli at all.

Diwali 2011
(each grey mosaic tile is 1 ft X 1 ft., therefore, this rangoli is almost 2 ft X 2 ft))
Diwali 2012
In 2014, I was lucky enough to be in my hometown 20 days before Diwali so I had enough time on my hands to look for Rangoli powders in local market. I was amazed to see that now these beautiful, bright coloured rangoli powders are easy available here in Kanpur too. Since I had enough time and resources this Diwali, so this was perfect opportunity for me to fulfill my desire to make a huge Sanskaar Bharati! And this is what I made after 4 laborious hours. (it's diameter is 6 ft.)

Diwali 2014
(diameter of 6 ft.)
In making this particular rangoli, I used only 2 stencils, the white designs in 8 outer red circles), rest everything is done by hand.

Diwali 2014

I love to make rangolis, either by paints, rangoli powders or even with white/yellow aipan (paste of finely grounded rice). I wish every one celebrate these joyous moments with their family, friends and loved one!
  

Quilling Project 1: Wedding gift for Azeem

In my previous 
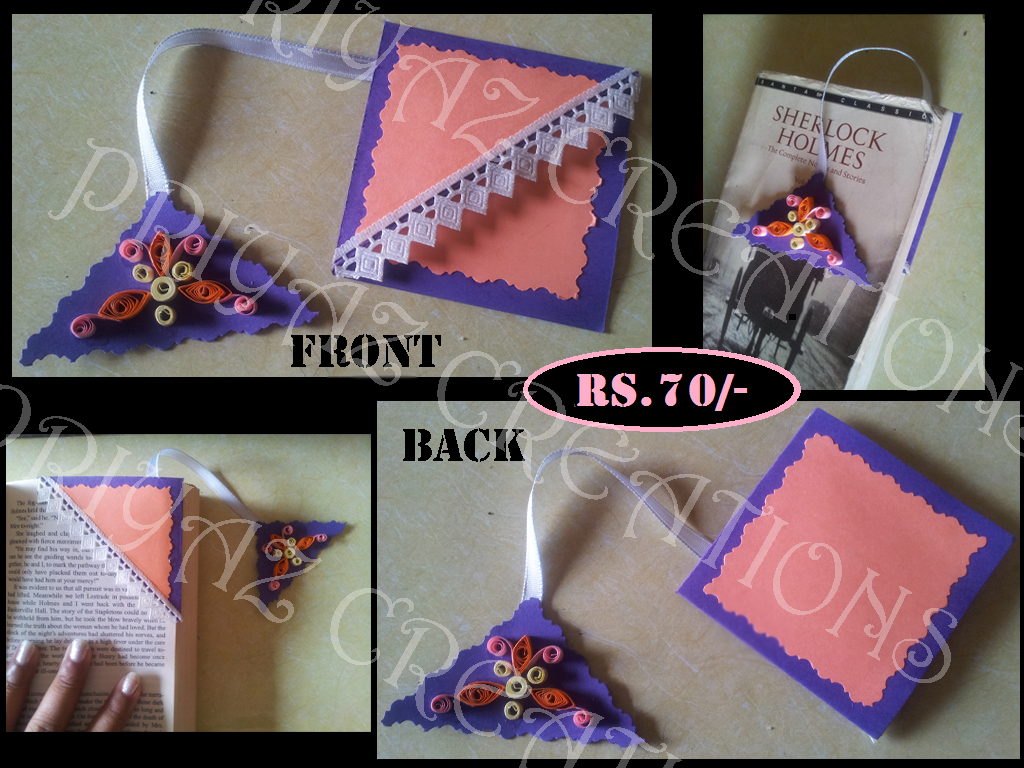
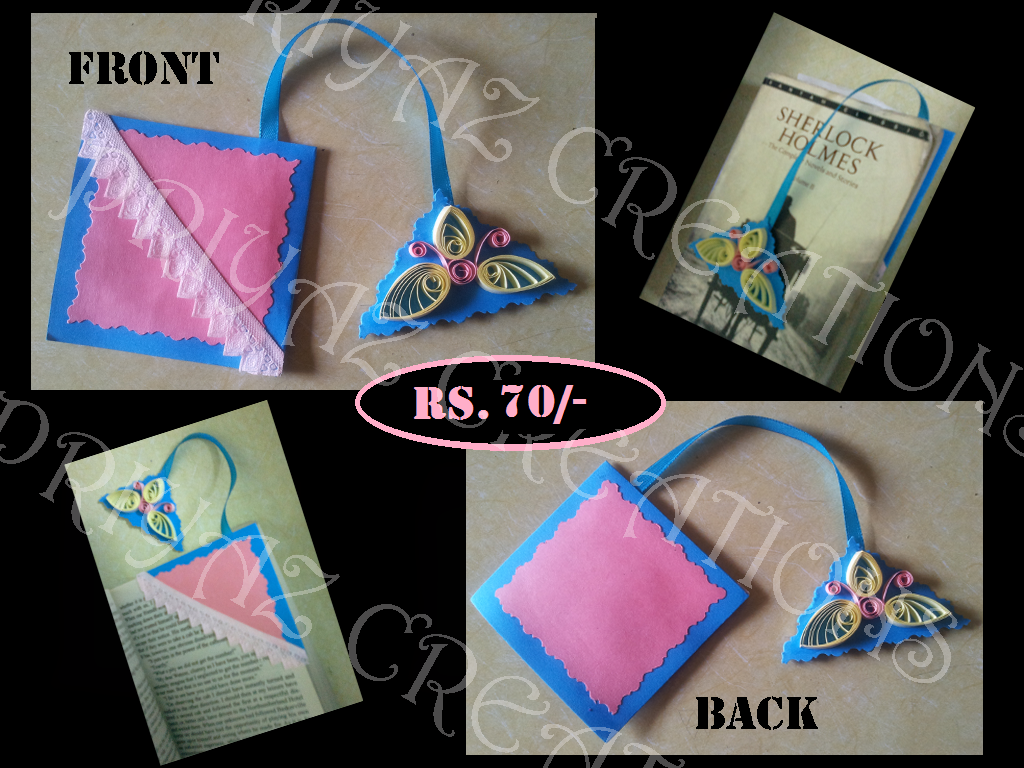
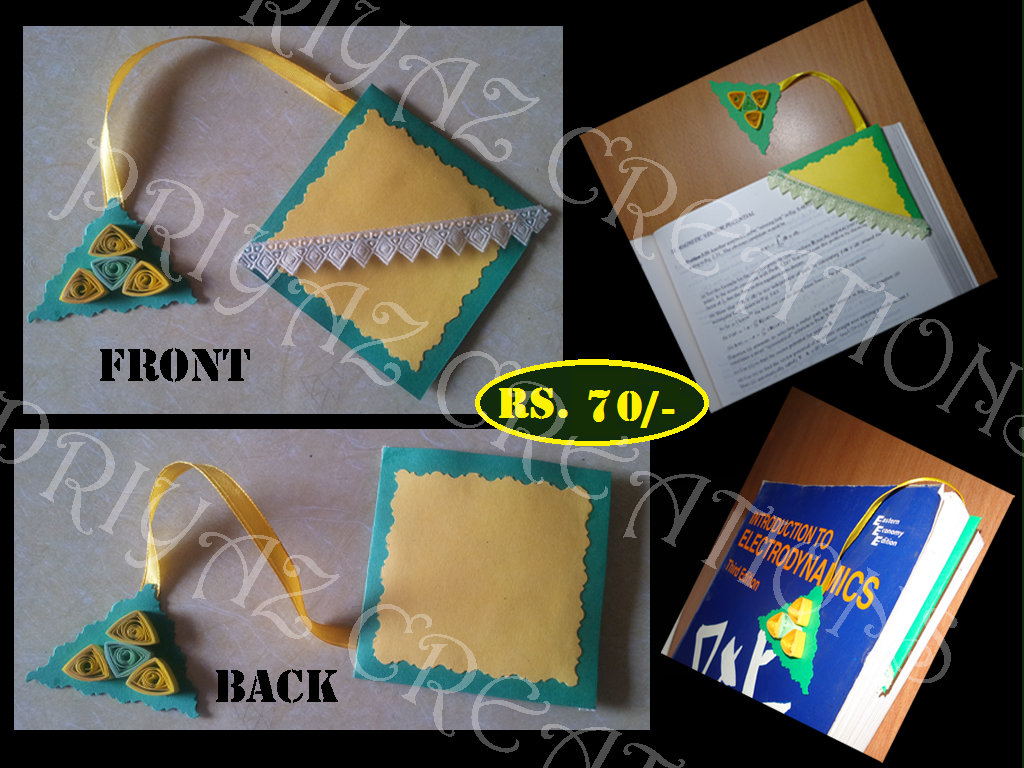
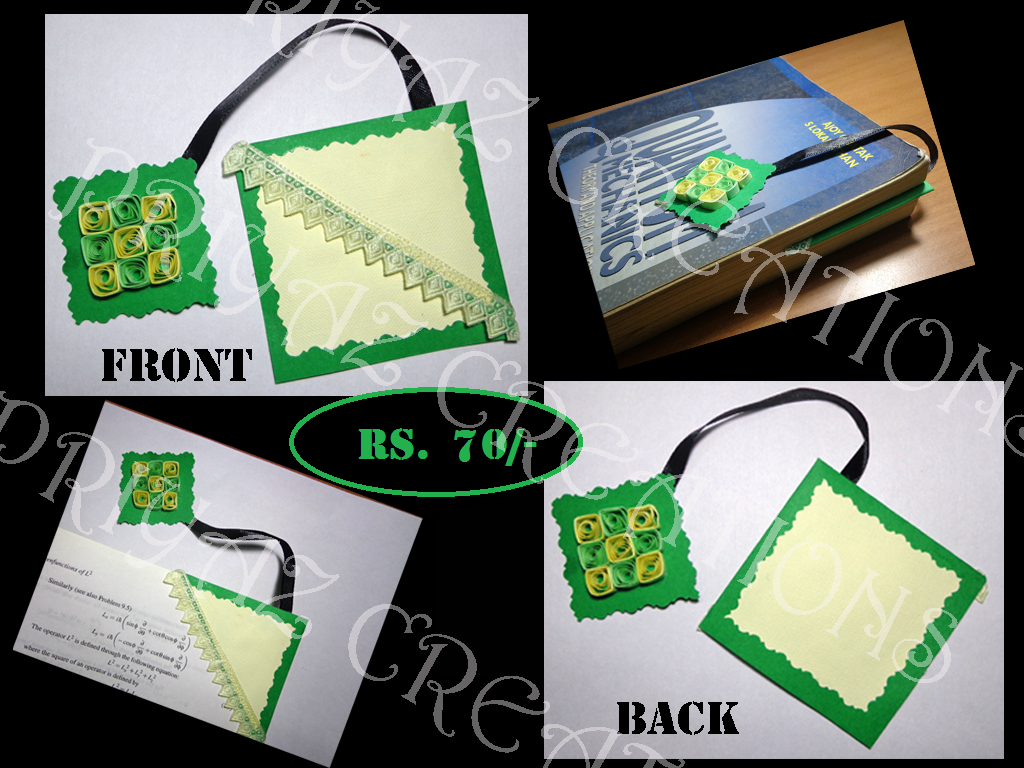
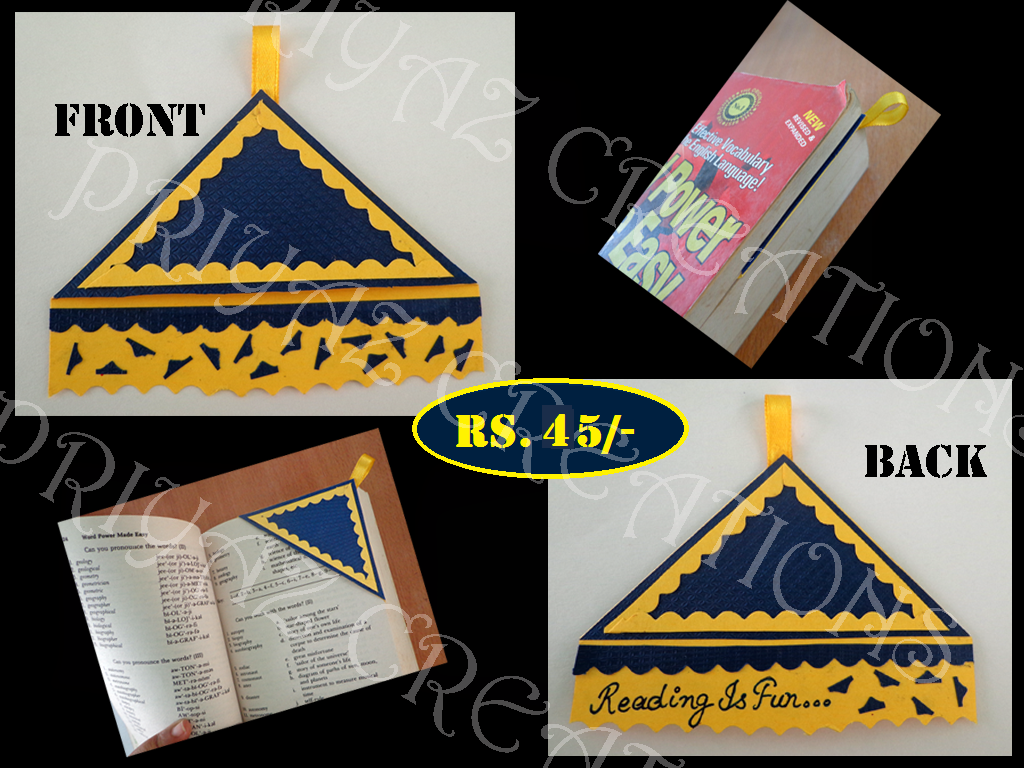
post, I had introduced my romance with quilling, which started when I first made Quilled Corner Bookmarks and how that inspired me to take up an ambitious project since I was (and I still am) just a novice in the grand art of Quilling. As mentioned, my first stint with this art was in Feb 2014 when I made these bookmarks. After that stint, unfotunately neither did I get enough time nor opportunity to try my hand once more.

When my best friend Azeem announced his wedding date to be in first week of October 2014 , my mind started whirring to think of an idea as to what should be his wedding gift from me. Of course, there was a gift from all of us friends but I wanted him to give something personalized, something which I have made myself, something to mark the beginning of a new phase of his life. And what would have been better than giving him Quilled "Basmala".

The Basmala , also known by Bismillah, is the name of the Islamic phrase "b-ismi-llāhi r-raḥmāni r-raḥīmi" meaning "In the name of God, the most gracious, the most merciful". The Basmala has a special significance for Muslims, who are to begin each task after reciting the verse. The Basmala is used extensively in everyday Muslim life, said as the opening of each action in order to receive blessing from God. So now you can understand why I wanted to gift him Basmala in Quilling, as a blessing to start his married life.

But since I don't know how to write in Calligraphy, that too in Urdu, I got help from Internet. I got it printed on an A4 sheet. However, since my idea was to make it in size of about 1.5 or 2 times of what was printed on that sheet, I literally did calculations to scale up each and every twist and turn in the writing and mark it on my handmade paper.

Scaling Up of the Calligraph 

Now the next part came of quilling the outline of the verse. Since this was the first time I was doing quillography, my natural curiosity led to inventiveness and I thoroughly enjoyed the process.


After this came the most tough part of finalizing the color combinations and how to quill it. I decided it has to be colorful with almost all the major colors of the rainbow. After all, it was supposed to be a blessing to make my best friend's married life full of bright colors!

I have to confess that my drawing is very bad. That's why I always let the design develop like in Zentangles. I like to make abstract designs, where I don't have to premeditate and draw a particular design on the paper. Believe me when I say this. The only pencil marks on the paper were the ones I made when I wrote the scaled up Basmala. That's it. So I decided to fill the outer portion of calligraph with abstract design so that the empty written words would come up due to contrast of positive/negative space.

Deciding the color combinations 


Close up of the quilling 

Close up of the quilling 

Close up of the quilling 

Many a times my mind went blank and I was stuck as to what should I make next. Here my Maa and my Papa came to my rescue. They would give me suggestions, "yahan yeh bana lo", "do something like this here" etc. Needless to say that although I didn't comply with their each and every suggestion but these suggestions did help me to switch on the idea bulb in my head!

It took me exactly 5 days ( almost 7 - 8 hrs each day, in total 35 - 40 hrs in total) to finish it. Finally I was happy with the outcome.

Final look (without framing) 

After Framing and stuff, it finally looked like this:

Final look (a foot scale beside the creation to give an idea of the size ) 


Needless to say that my buddy absolutely loved it. And now it adorns his living room!

At Azeem's place 

This post won't feel complete unless I say thanks to some very important people:

Maa and Papa - Thanks a lot for bearing with all my crazy ideas, encouraging and supporting me and allowing all my whims to be fulfilled.

Niharika: my chaddi buddy! Thanks for saving the day by suggesting use of self designed white handmade paper (and so introducing me to this wonderful thing) rather than just using plain white chart paper for background. It just magnified the beauty of the whole creation by more than 10 folds! Thanks for accompanying me multiple times to find out the shops in Kanpur to buy the raw material for it and partnering with me in all the bargaining bouts with the shopkeepers. And last but not the least, for encouraging me and motivating me (sometimes even by mild scoldings)!

Azeem: You have always, directly or indirectly, inspired me in life. You have countless times inspired me to come out of my comfort zone, push my boundaries and explore the world (both within and out). It was because of you that I thought about undertaking such a magnanimous task in my second attempt at quilling on such a scale. Thanks for letting me be me, thanks for pushing me to explore the unknown possibilities. Thanks for just existing in my world!!!

Entering this creation in Try It On Tuesday's New Beginning challenge.

Friday, February 20, 2015

The Corner Bookmarks!

My very first creation which kindled the idea of opening my own online store for my creations were these amazing "Quilled Corner Bookmarks". These marked my very first attempt at quilling as well as, at making corner bookmarks! I made these in the month of February 2014 but since then I have been busy in numerous other tasks and errands and responsibilities so I could not get enough time to start writing my blog. Now that it's 2015, almost an year later, I thought it's high time to do it!

These bookmarks were made by minimal craft supplies like coloured A4 sheets and some small leftover pieces of laces which I had used in making a birthday garland for my very special friend about 3 years back! I have this habit of keeping small cutting and left over pieces of paper, laces etc. when I finish a craft project.

I made about 5 of such bookmarks and when my friends saw them, they insisted that I should open my own online craft store.

However, these creations of mine sure did one thing for me....hooked me for life with Quilling! I fell in love with "Quilling"!!! And since I am an adventurous gal, the next project which I undertook for quilling was very ambitious for me since I was just a novice in the art of quilling. However that's something for another post.

For the time being, please have a look at my bookmarks. Please do leave me some love! In case you would like to buy them please click here.

BM 01

BM 02


BM 03

BM 04

BM 05

- Priyanka Srivastava @ Priyaz Creations